 |
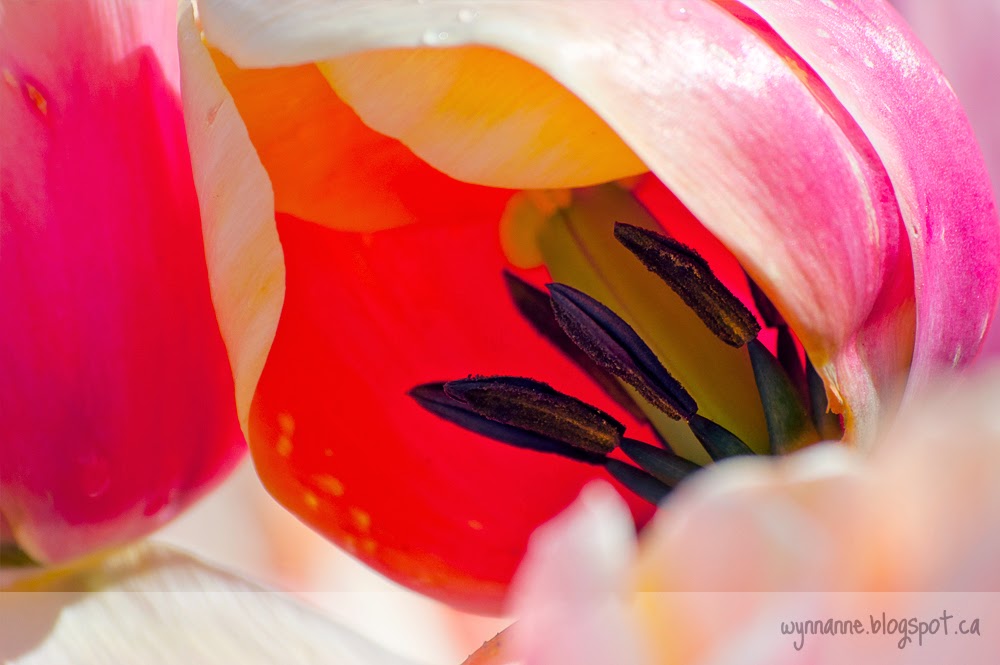
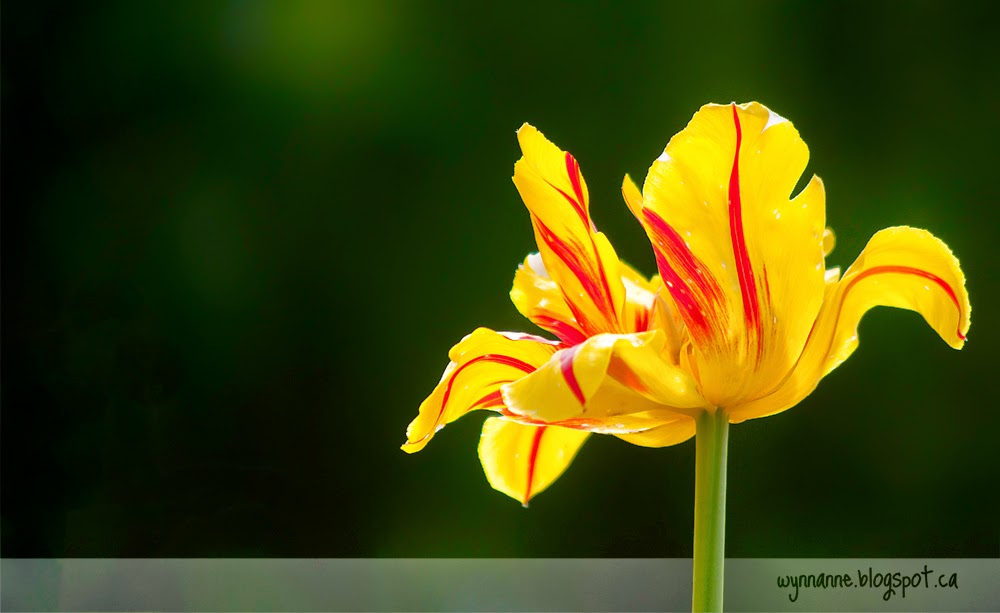
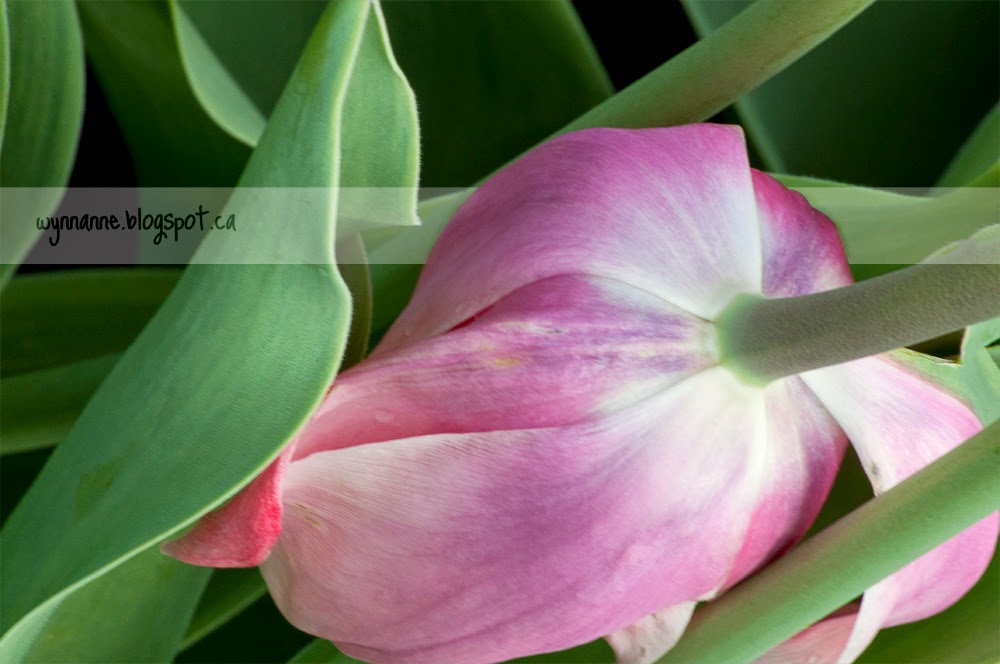
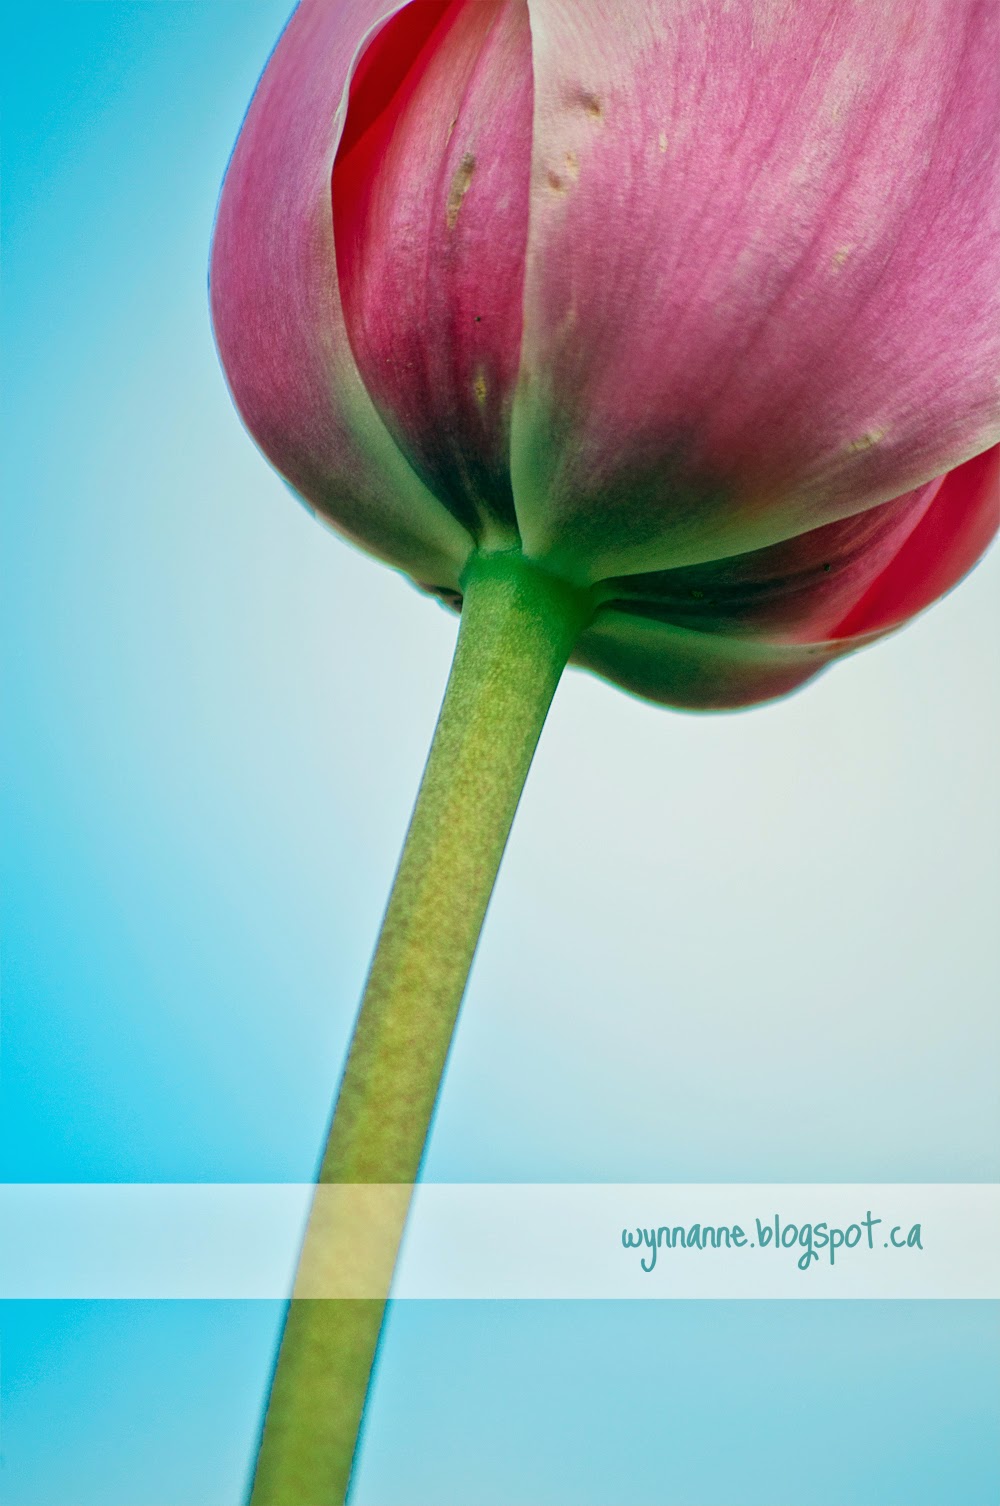
| 1. Macro shot of a tulip's reproductive parts. |
I'm kind of a nut about photography, especially flowers. It isn't cool or edgy, but I just love a pretty flower. And I know I'm not alone in this, judging by the hordes of people who were at the Ottawa Tulip Festival this weekend, taking pictures with their cell phones, iPads, and cameras of every shape and size.
I was there, too, but not with Kane. This time, I was with my friend Aliza as we took part in a floral photography workshop -- right up our alley!
UPDATE: Here's a link to Aliza's blog, so you can see her lovely experiments as well.
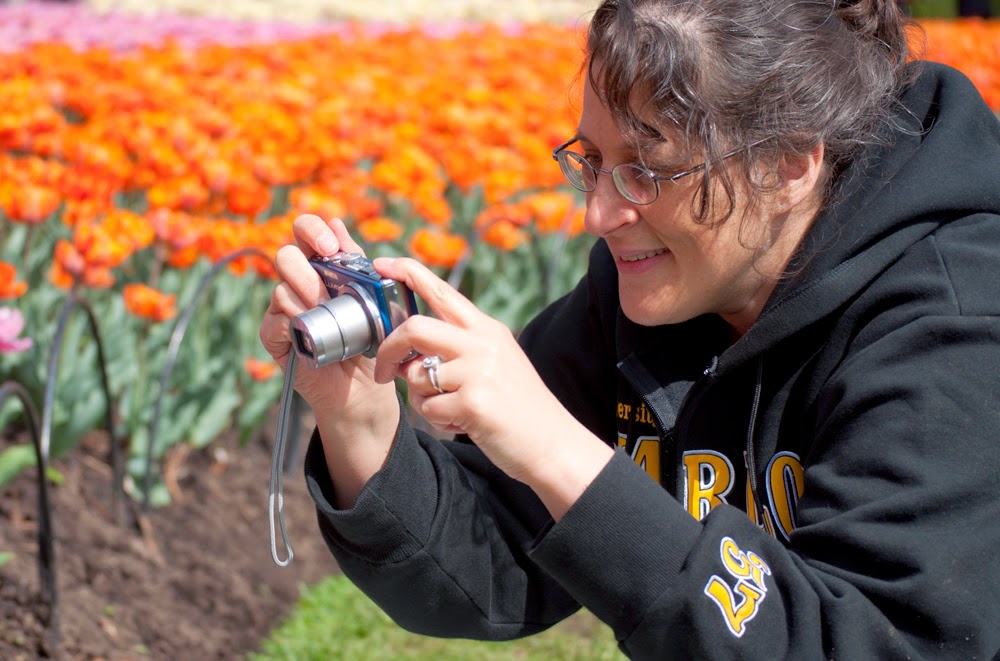 |
| Aliza composing a shot. The course was not about fancy equipment, but about using the tools you have to find beauty. |
The instructor, Dr. Shelley Ball, of
44th Parallel Photography, is a biologist and environmentalist who inspired us with her own pictures. The course focused on composition and experimentation, rather than on the basics of ISO, f-stop, and shutter speed -- though she referred frequently to these, of course, as they are essential to producing the results you want. (I will add that I think it's valuable to know and practice those fundamentals before purposely "breaking the rules.")
The course was fantastic. Not only did I learn some new techniques for "artsy" pictures, but, more importantly, I moved beyond my old comfort zone of classic floral portraits. I'll share a few of my favourites here. (But be warned: I took more than 600 pictures. It was hard to pare it down to a mere 34 for this blog post!)
Classic Floral Portraits
Some flowers seem to "call out to us," as Aliza said while we walked around the vast beds of tulips at Dow's Lake. The challenge as a photographer is to sharply capture that beauty and uniqueness of each blossom, while setting it apart from the
hoi polloi.
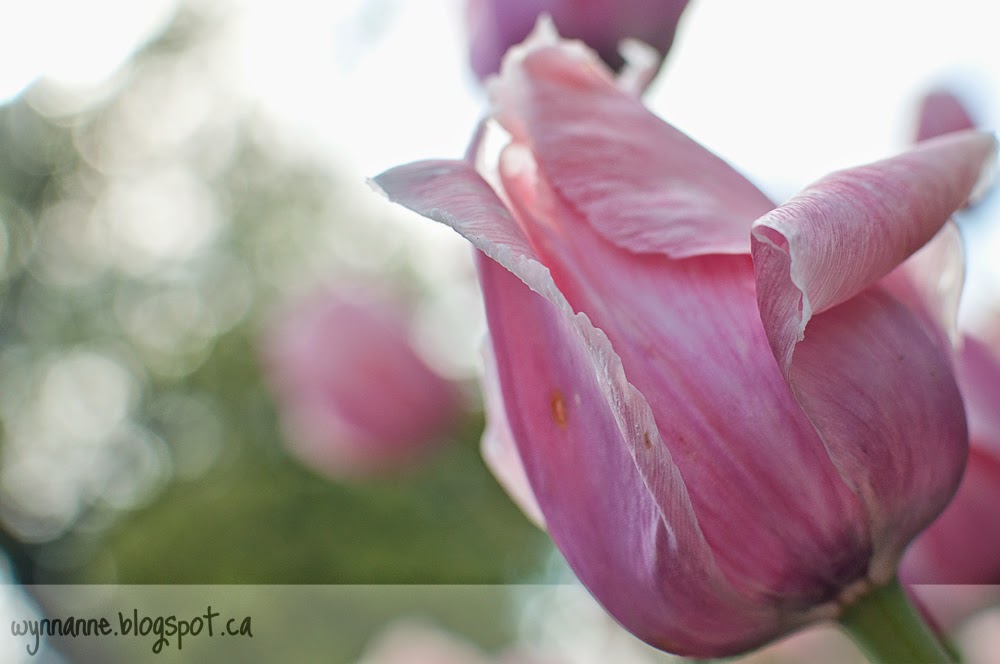 |
| 2. Classic Floral Portrait | That curling petal spoke to me. |
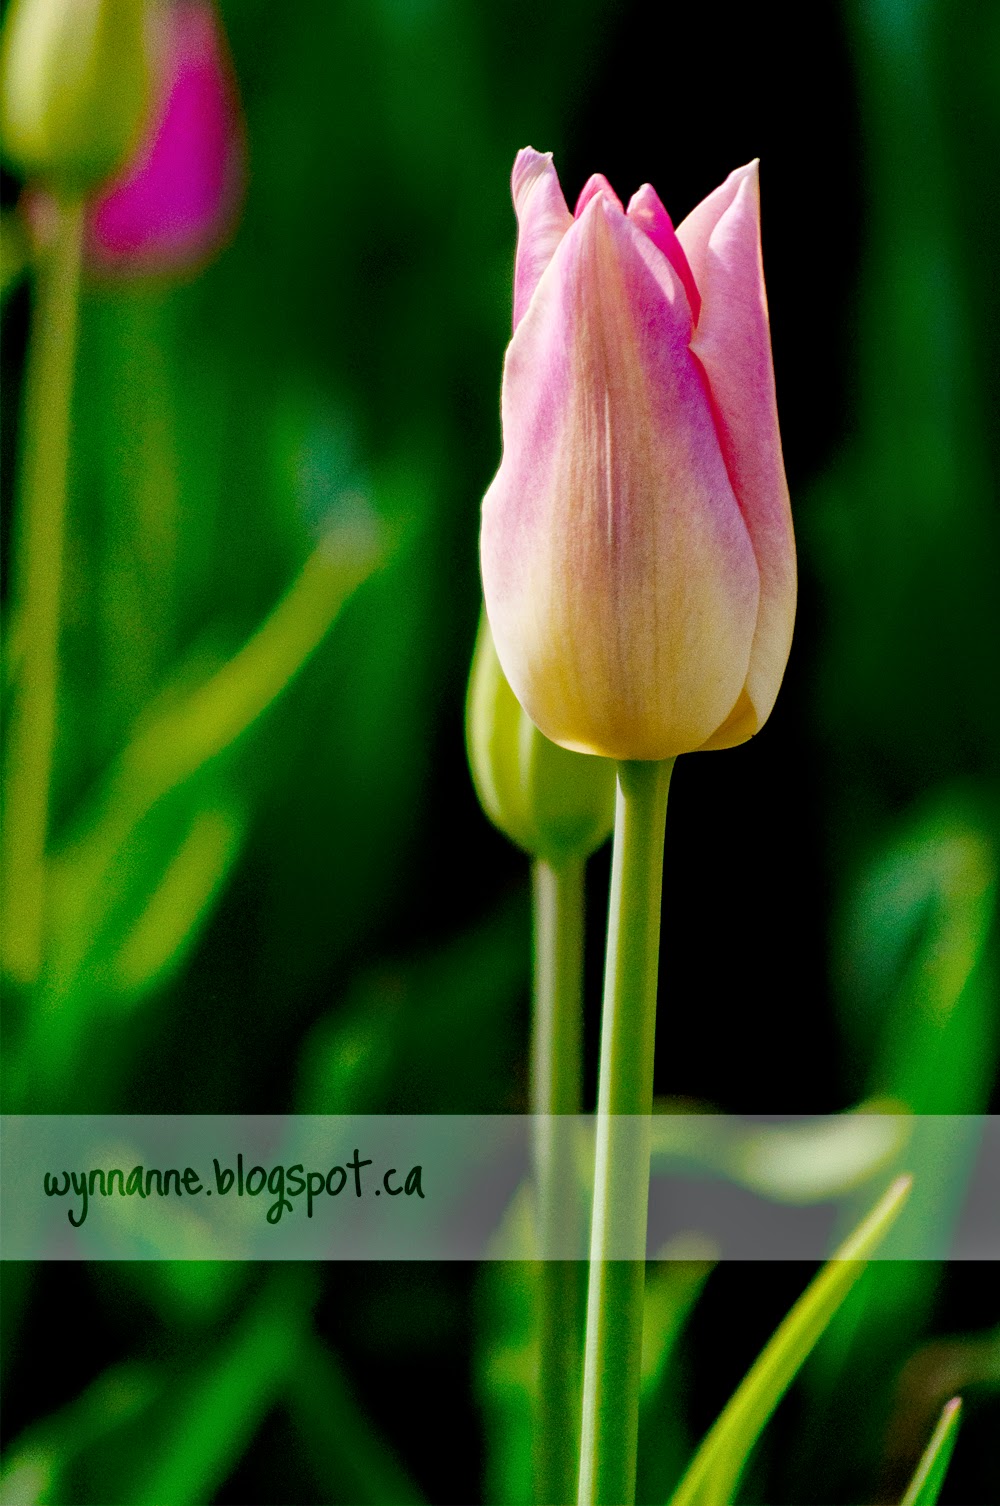 |
| 3. Classic Floral Portrait | Upright tulip |
 |
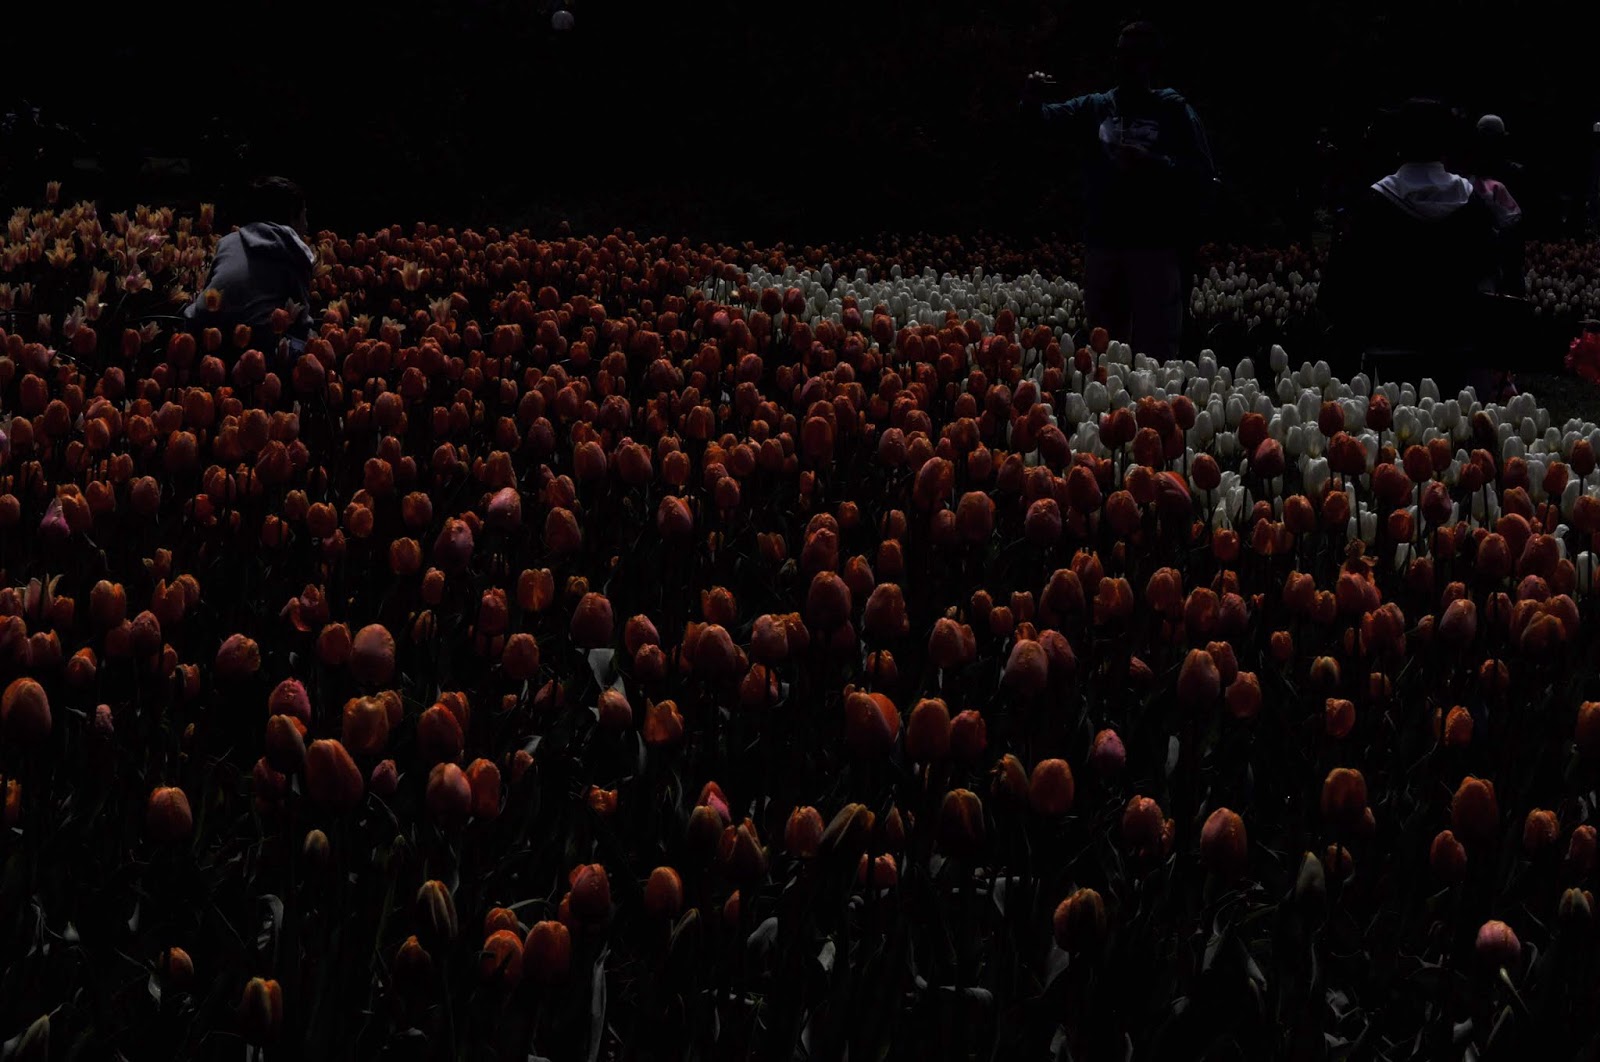
| 4. Classic Floral Portrait | It almost appears to be dancing a joyous fandango! (And I love how the dark background sets it apart.) |
This is the kind of floral photography that most of us are comfortable with. It is what we see on greeting cards and in magazines. And I love these pictures.
Panning
The idea of deliberately blurring my pictures -- breaking a rule! -- was a bit of a jolt. But Shelley showed us what happy surprises it can bring. Here are a few of mine. Panning creates abstract pictures, ones that might be used as the background for text.
(I don't know how one would do this with a point-and-shoot camera, but there must be some settings.)
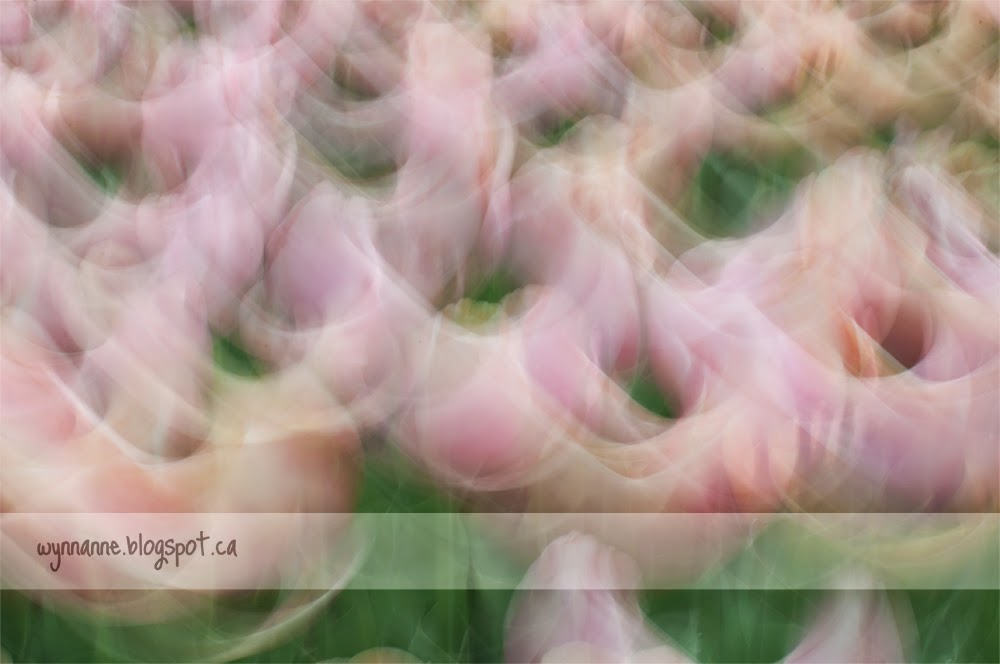 |
| 5. Panning | You can see that I moved the camera in a U shape as I released the shutter. |
The challenge with this technique is that it requires a long exposure (the lens stays open for a long time), which is difficult to achieve on a bright, sunny day such as we had.
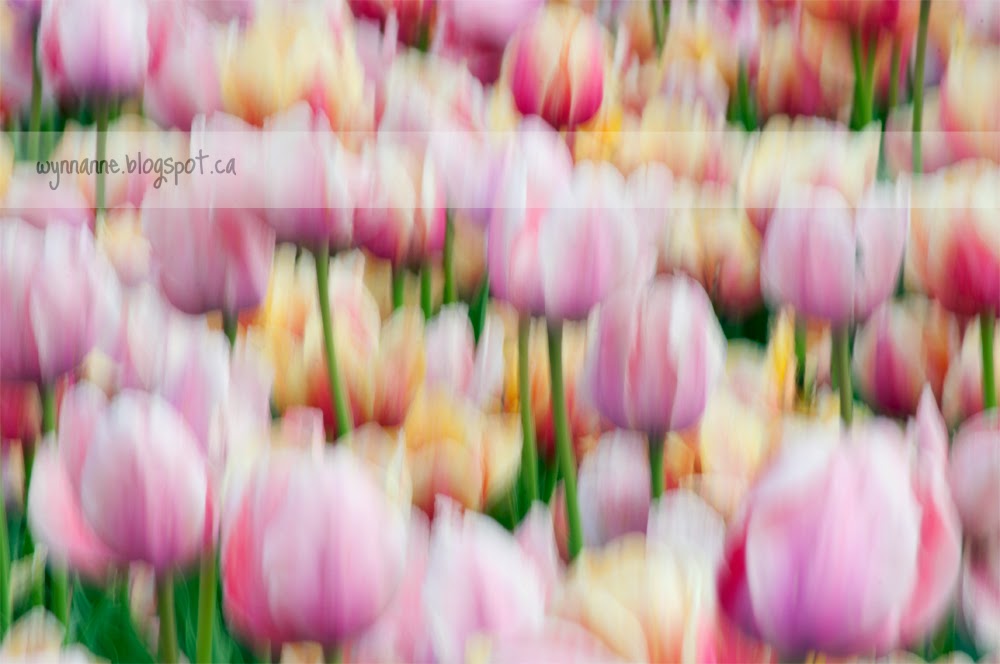 |
| 6. Panning | Just a swift upward move. |
The thing about panning is that you have almost no idea what kind of image you will end up with. This one really stunned me.
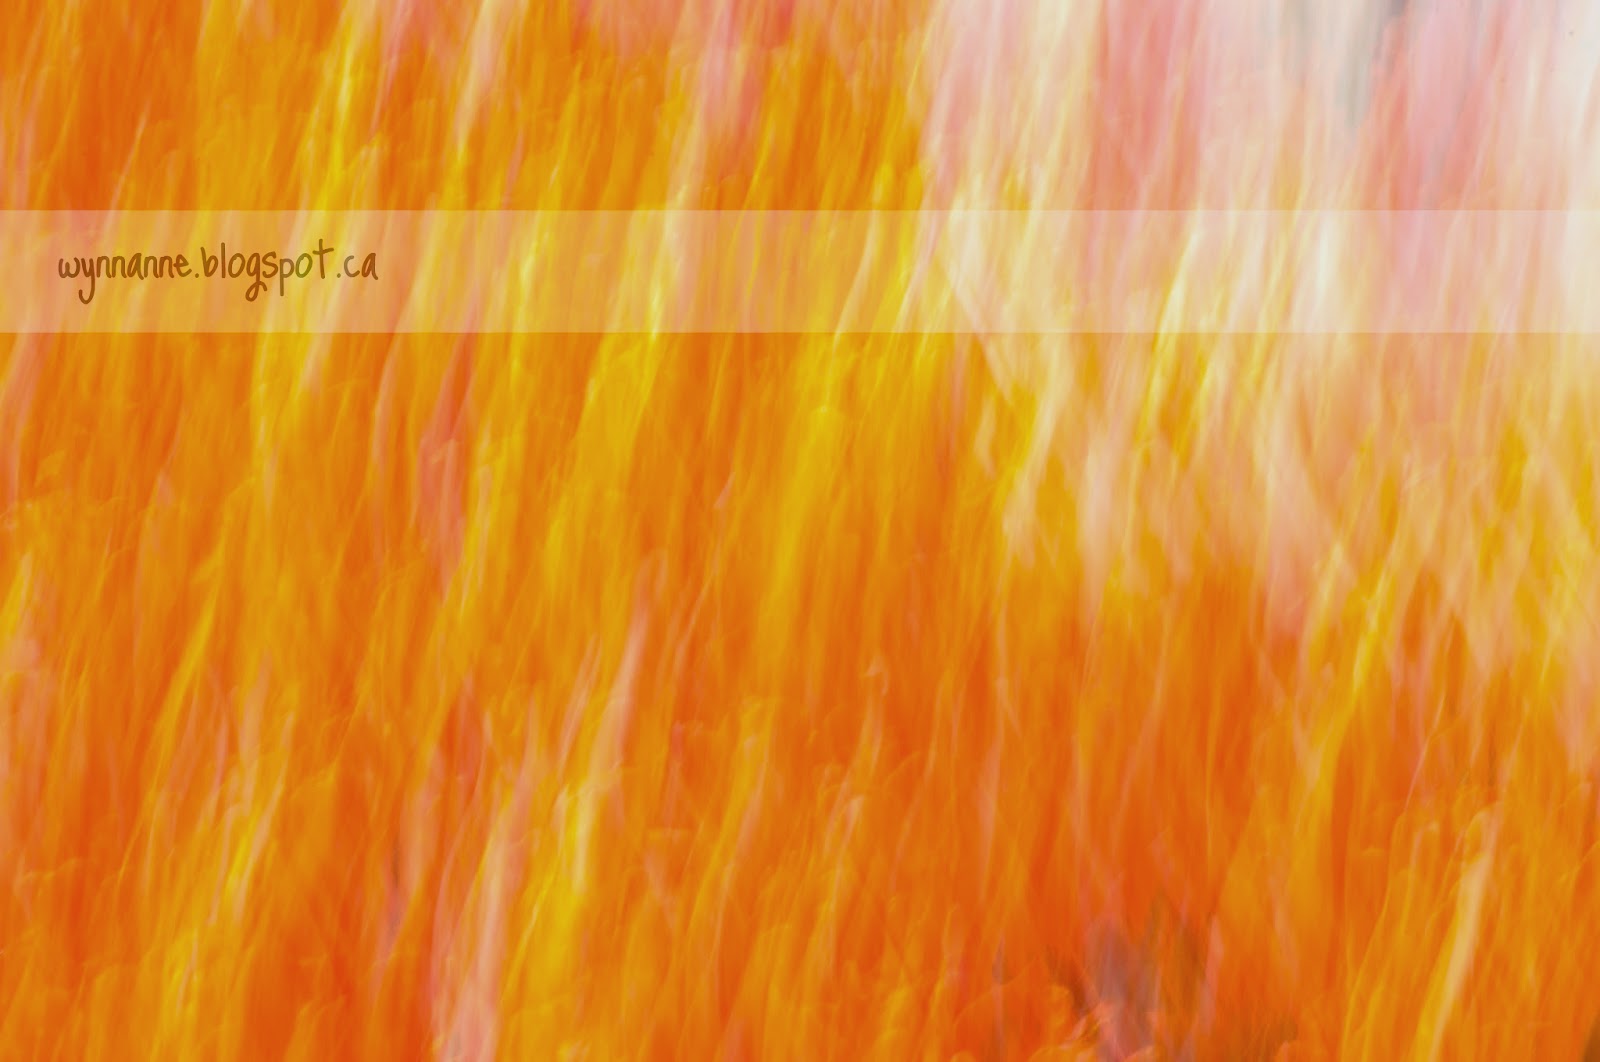 |
| 7. Panning | The bed of strong orange tulips in the bright sun really did inspire thoughts of fire. |
Overlay
My Nikon camera has the option to lay two images on top of each other right in the camera. This can also be done in Photoshop, of course (and I did a couple of them that way because I forgot to save the in-camera version). This may be my favourite new technique.
 |
| 8. Overlay | So soft! |
This technique gives a softness and glow. I did the following one in Photoshop.
 |
9. Overlay | You wouldn't know this was two exposures, if I hadn't told you, would you?
(This was taken toward the end of the session, when I had to lie down because my hips and back were sore.) |
This following one was done in the camera.
 |
| 10. Overlay | It looks like it's glowing! |
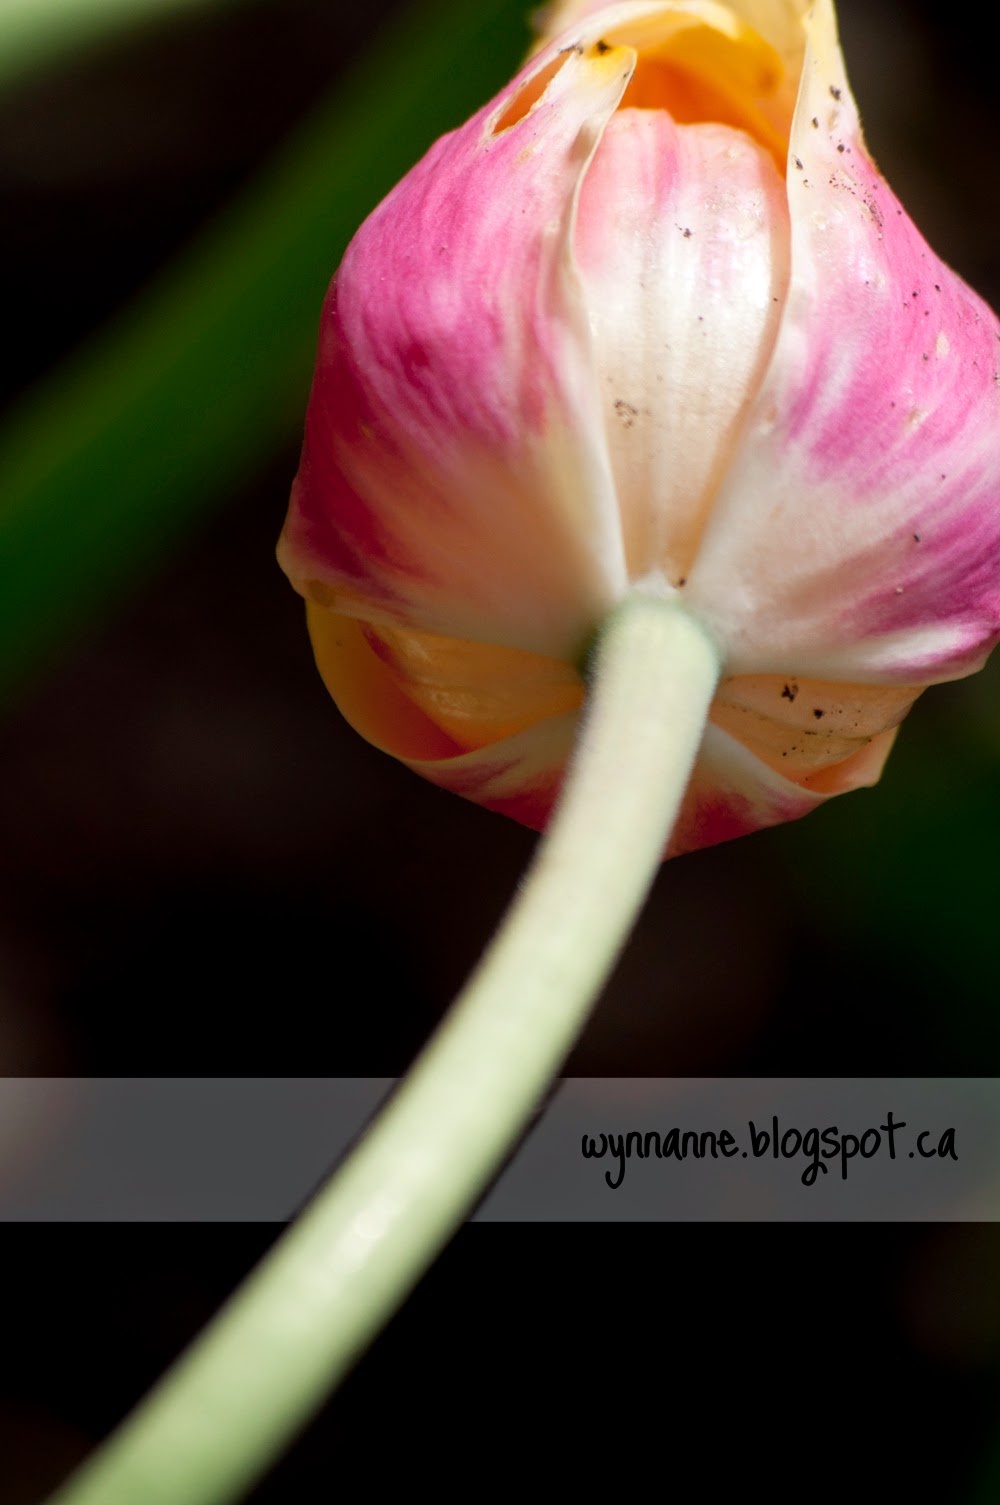
Unique Angles and Perspectives
In typical floral portraits, you get the upright picture of the blossom, or the downward-looking picture. Shelley encouraged us to move around and really look at the flowers.
 |
| 11. Angles and Perspective | Dropped tulip |
 |
12. Perspective | This is almost a portrait, or a unique crop, but I include it here because
I had to get right down on my back and look up in order to capture it. |
 |
| 13. Perspective | Peek-a-boo! |
 |
| 14. Perspective | Again, not the typical view of a tulip. |
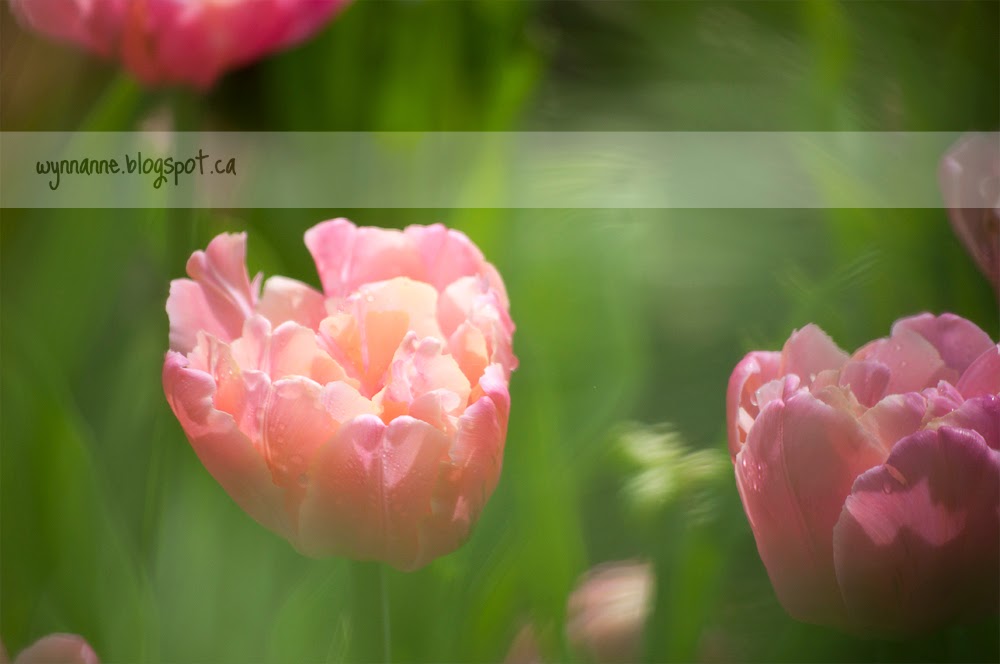
Cropping
Who says you have to shoot the entire blossom? Cropping it can really pull the viewer's eye to the "point" of your photo and is perhaps the easiest of the new tricks to apply.
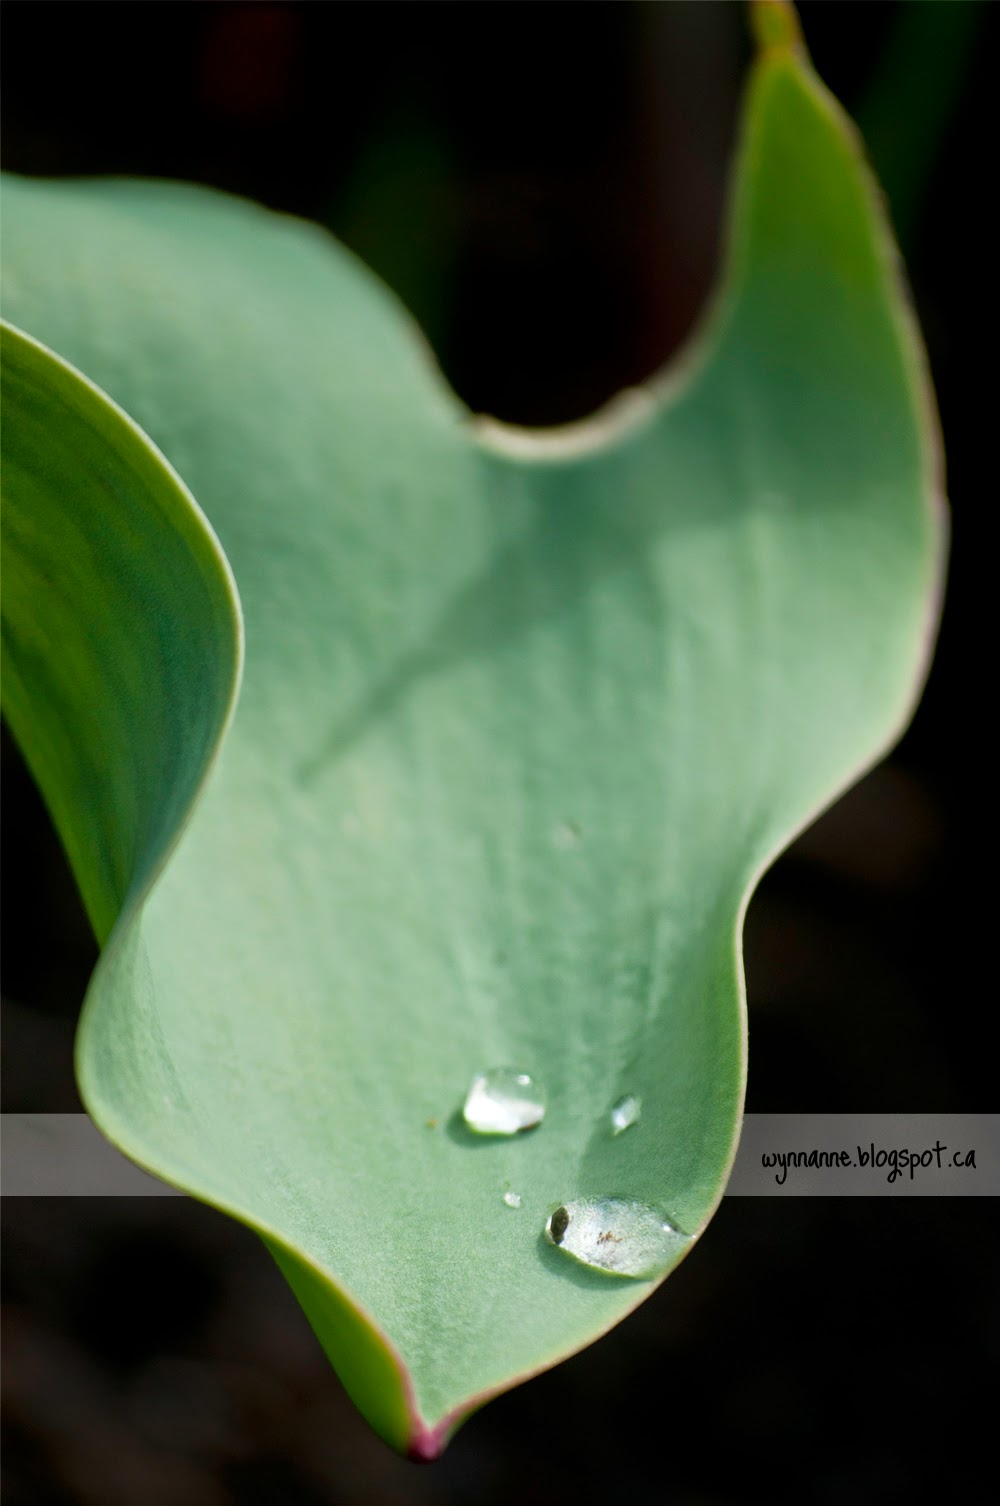
 |
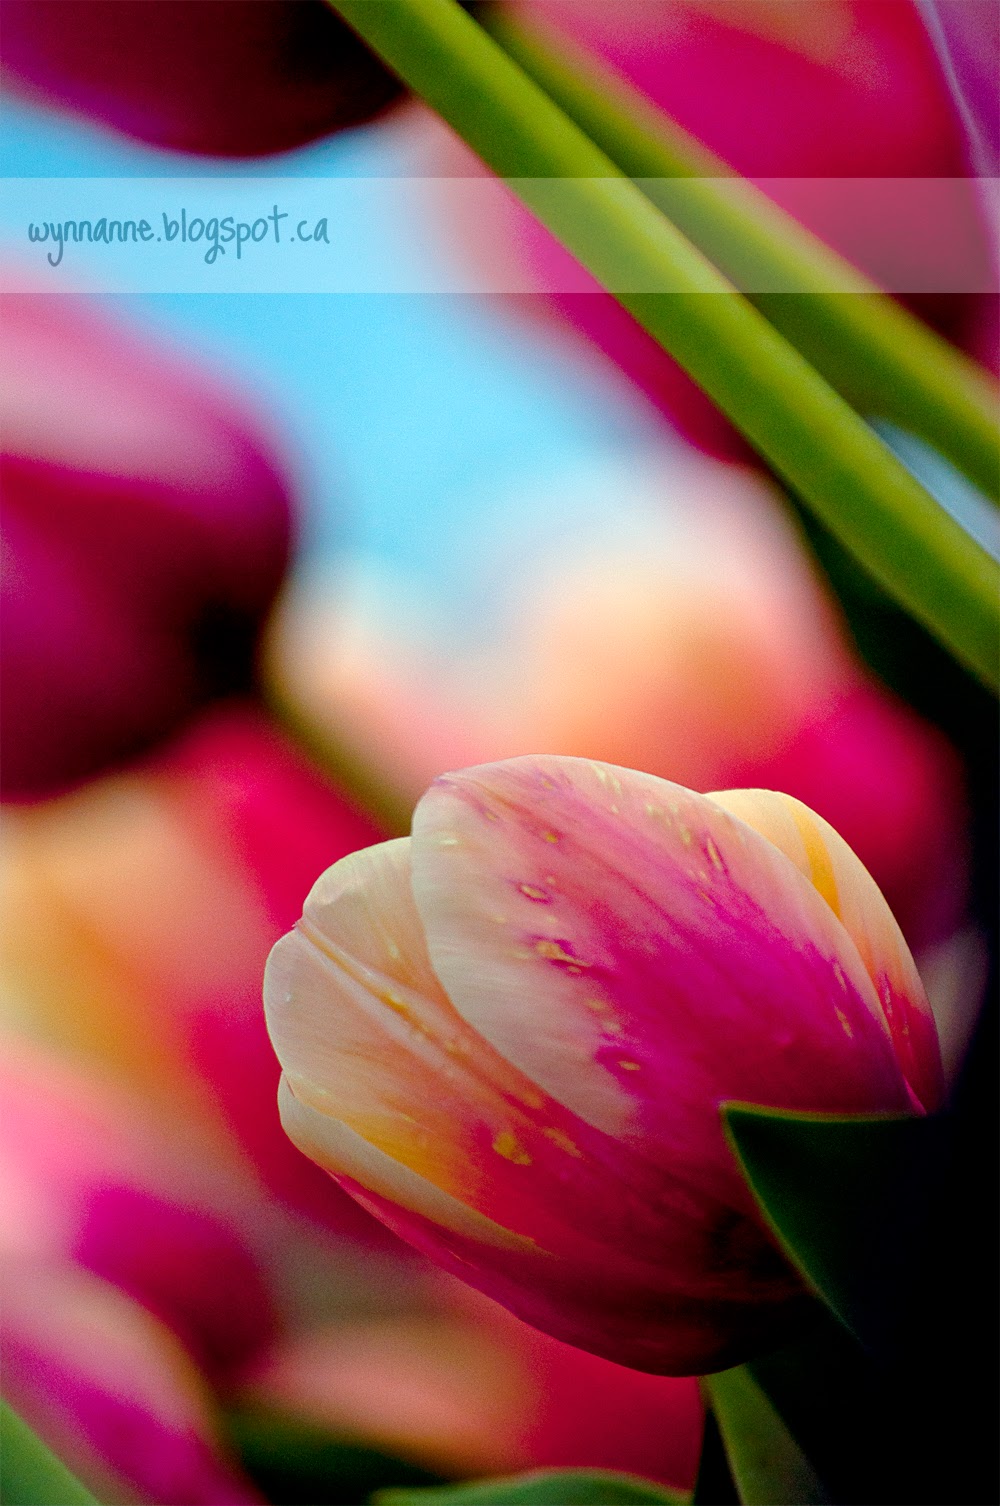
| 15. Cropping | This crop draws attention to the raindrops in a way that a full floral portrait might not. |
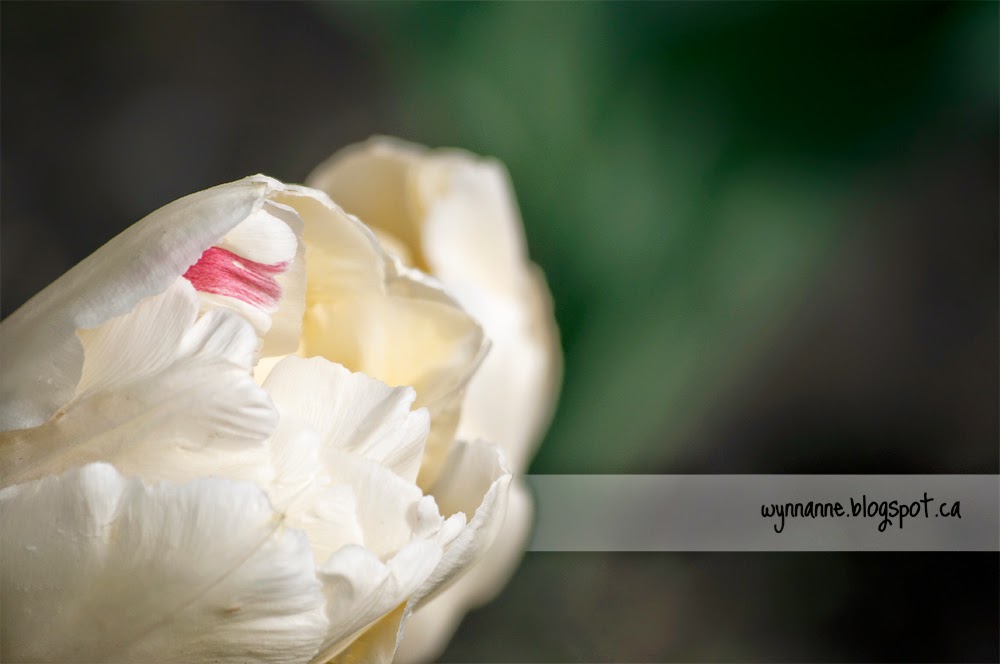 |
| 16. Cropping | Likewise, here, that flash of pink really gets your attention. |
 |
| 17. Cropping | I like how this draws focus to the pattern on the petals. Also note use of negative space. |
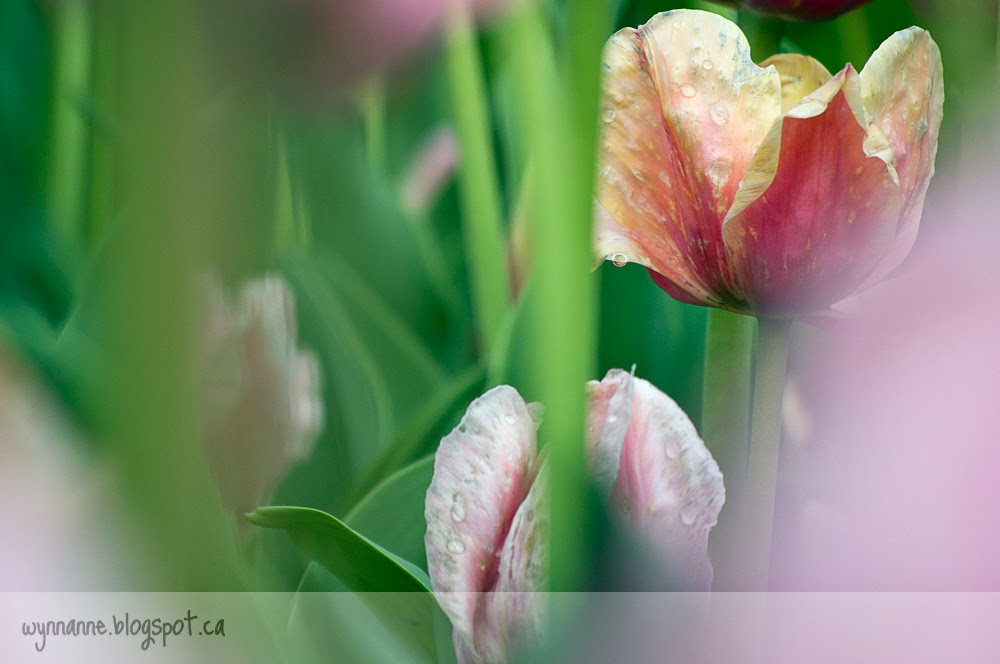
Macro
Closely related to the exercise of cropping is shooting macro - getting as close to the subject as possible, breaking it down to its parts. Georgia O'Keefe shocked the world with her intense floral artwork that looked at the sensuality of flowers.
These are another popular approach to floral photography. The challenge for me, here, was to get the bit that I wanted sharply in focus. Not always easy!
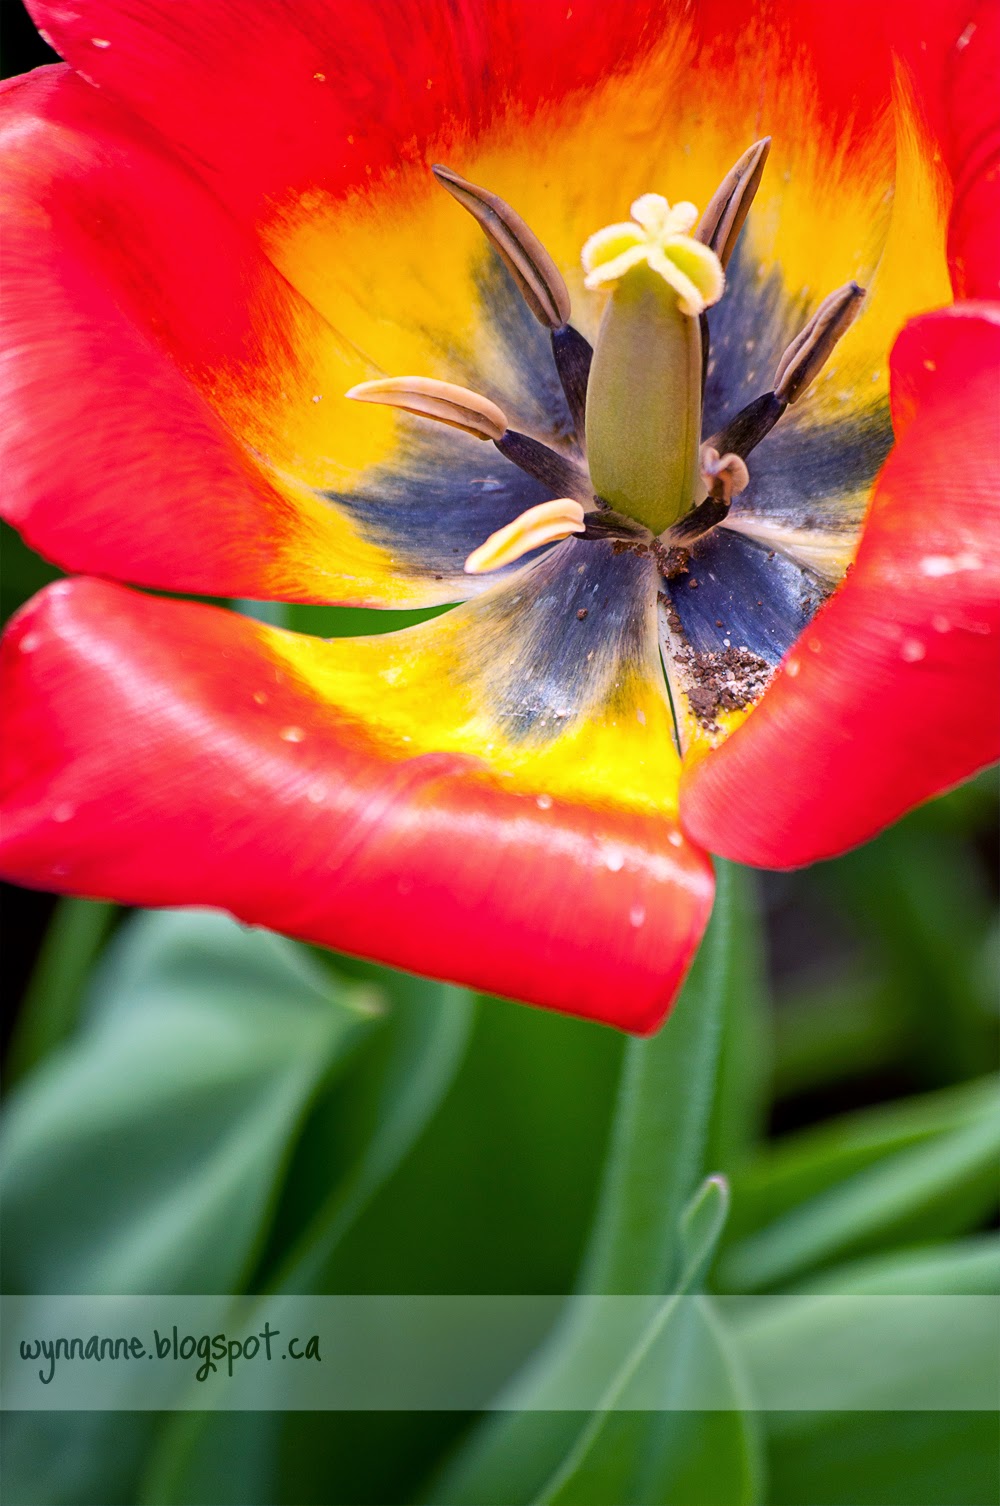 |
| 18. Macro |
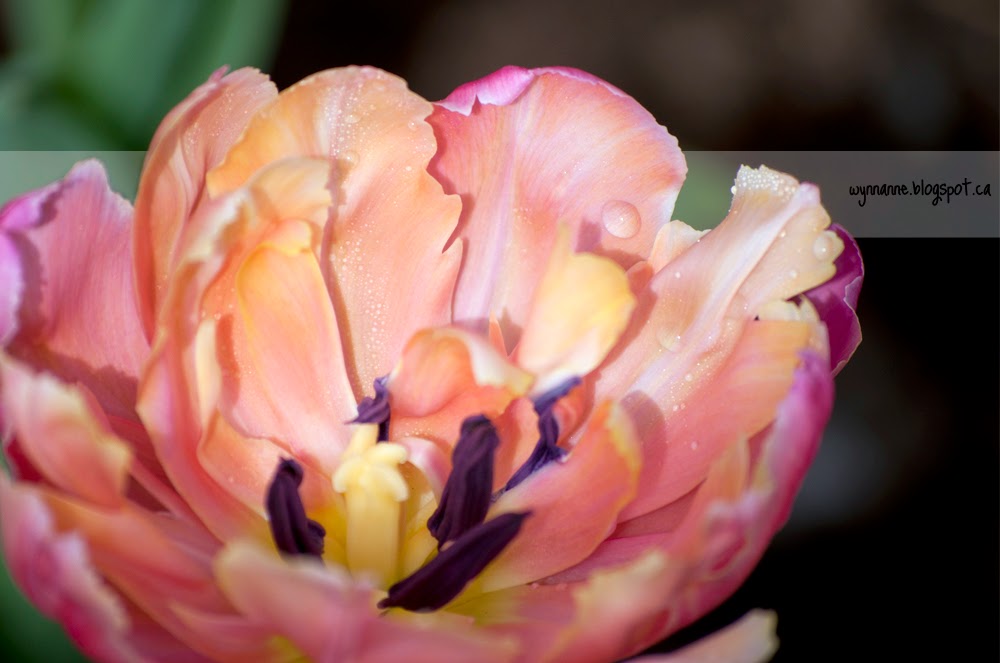 |
| 19. Macro |
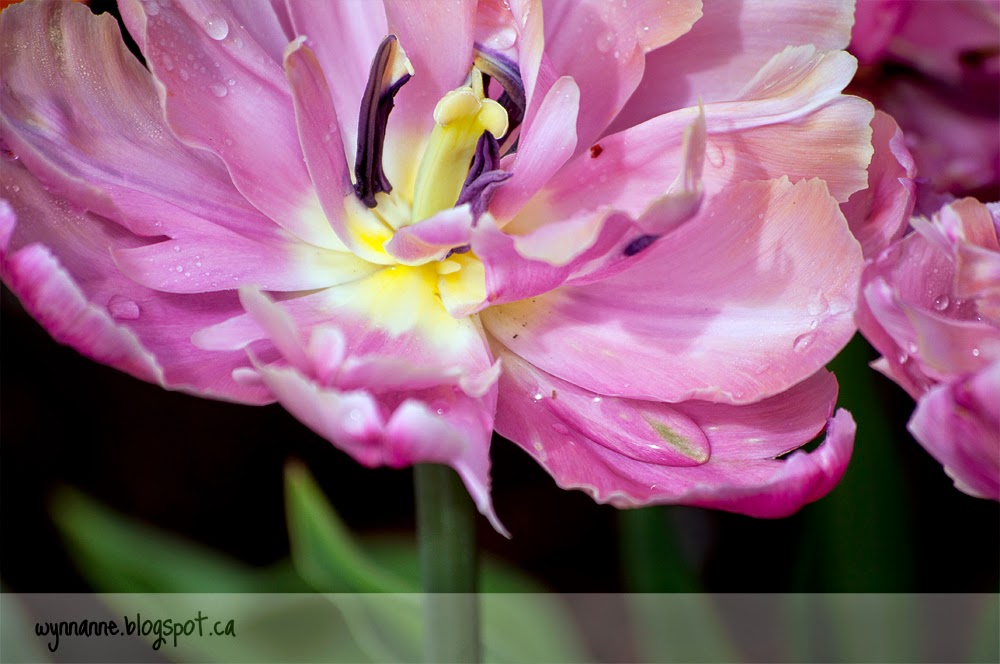 |
| 20. Macro |
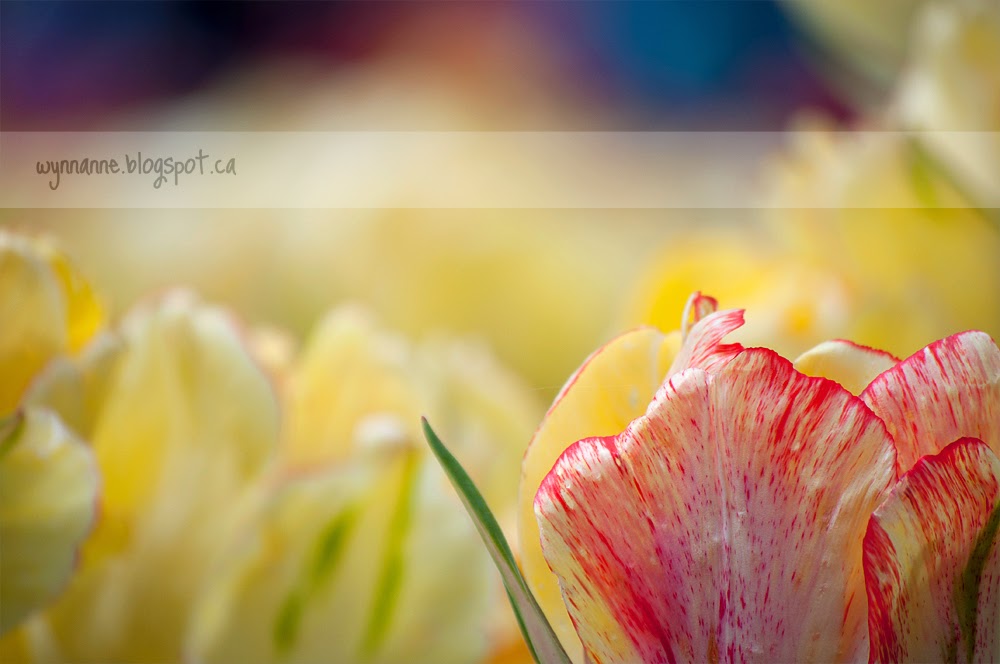
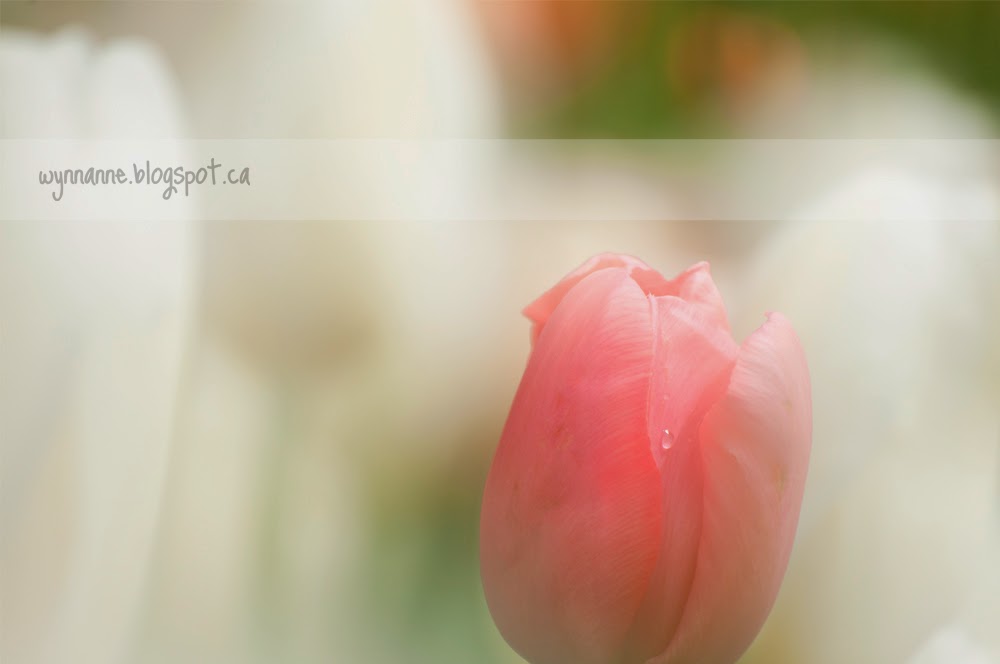
Backlight
Generally, it is risky to shoot with strong light behind the subject. It can tend to silhouette the object of focus (which may be what you want to do) unless you manage your exposure carefully. But it can give some lovely shots.
 |
| 21. Backlight | Those translucent petals! |
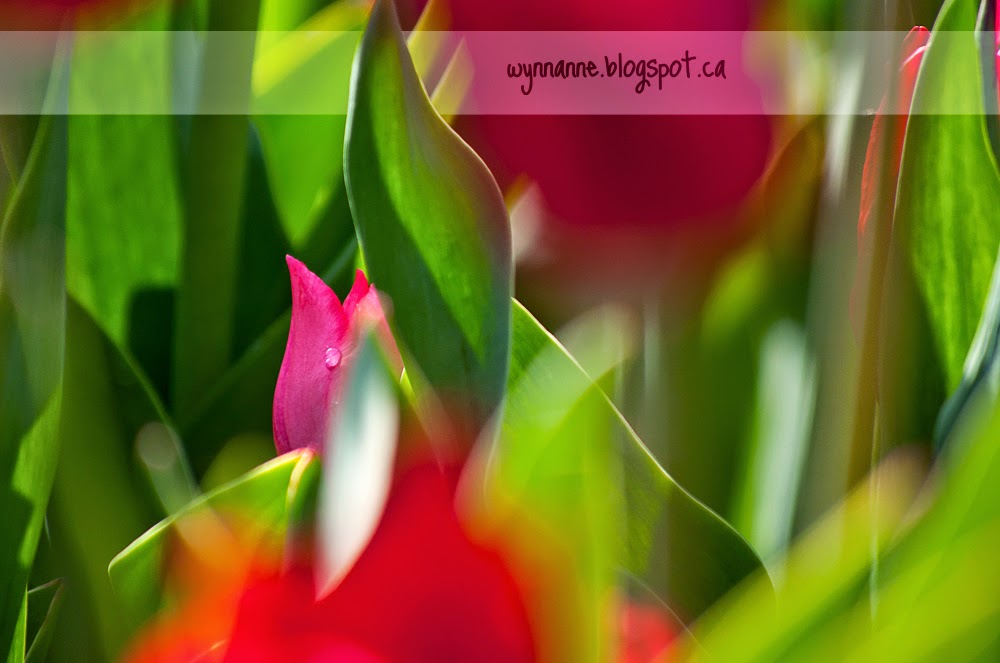
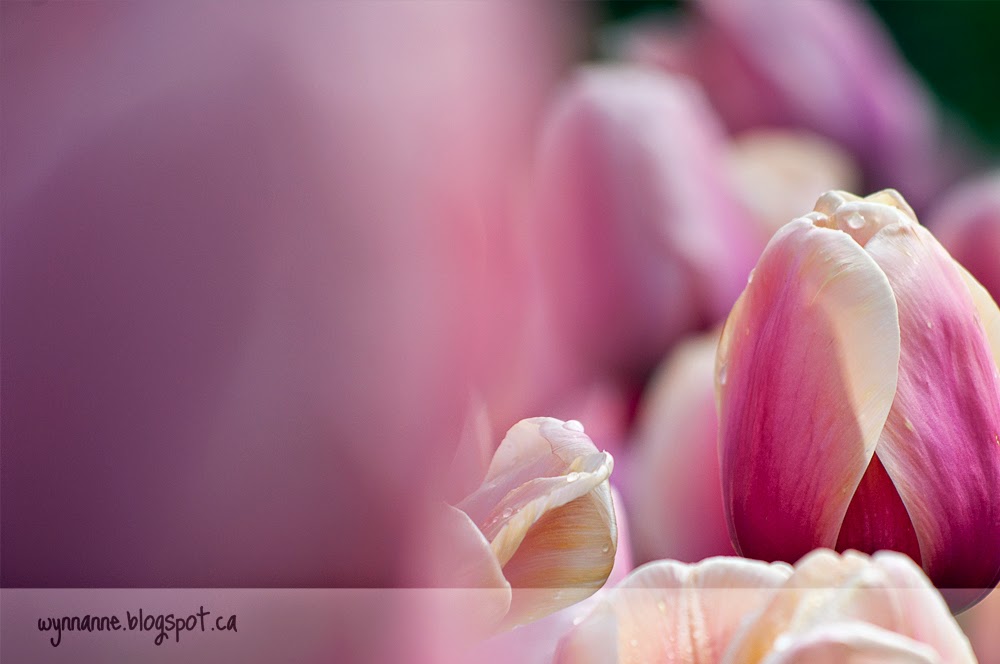
Shooting through Objects
This is one of the exercises that I found most challenging: shooting the focal subject with an interfering object in front of it. What happens is the foreground object blurs and sort of casts a veil over the main object of the picture.
 |
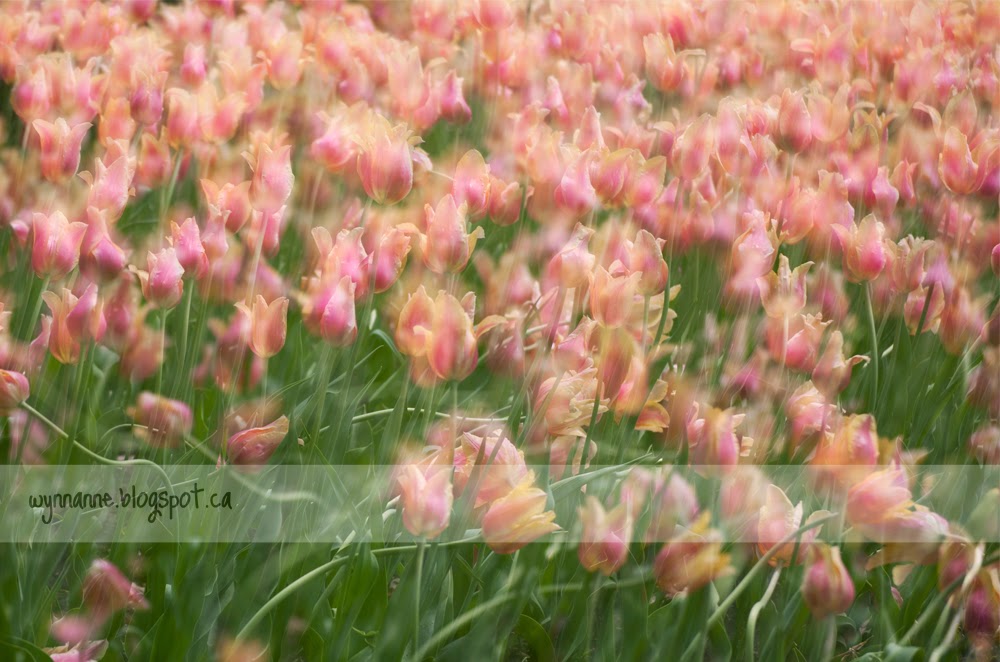
22. Shooting through Objects | This was actually shot through a fir tree.
You can see the shadows of the needles if you look. |
 |
| 23. Shooting through objects |
 |
| 24. Shooting through Objects | I wish I could remember how I did this one. |
 |
25. Shooting through Objects | This picture also uses "negative space" to balance the main focus of the right frame.
(It also breaks the "rule of thirds" by cutting the composition almost exactly down the middle with the blurred flower.) |
Shapes and Patterns
Sometimes the subject itself has an interesting shape.
 |
| 26. Shapes and Patterns |
Other times, it is the composition that plays with lines and geometric shapes.
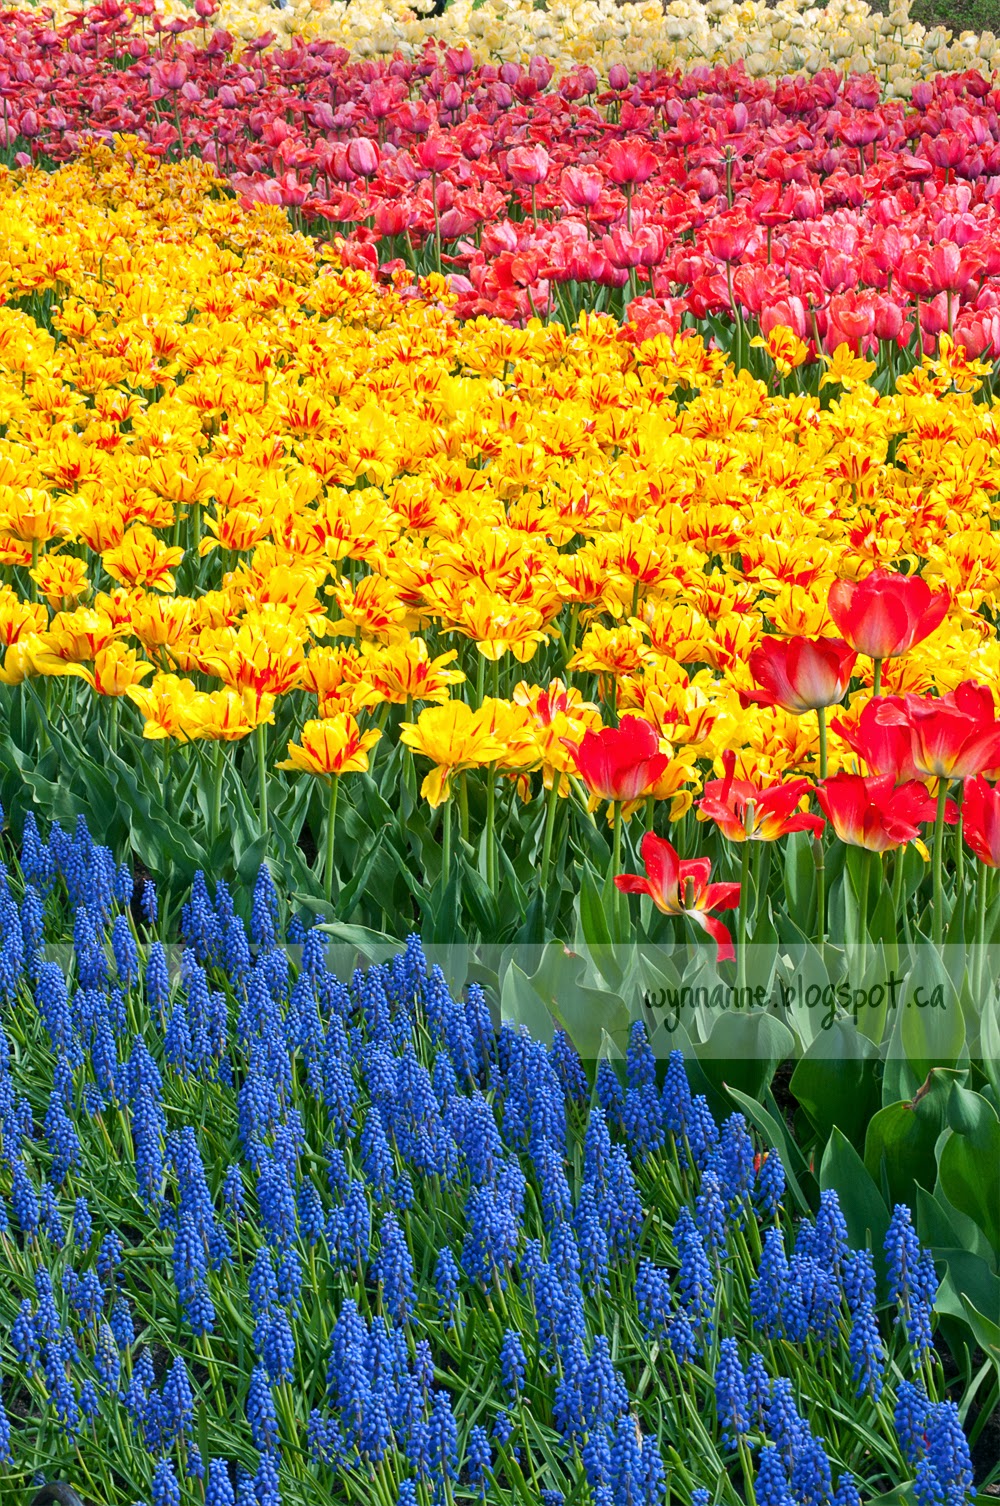 |
27. Shapes and Patterns | This kind of saturated image
is used often in commercial photography. |
In the one below, I really wanted to capture the curlicues of the unfurling ferns against the brights of the tulips. The horizontal bands of the two tulip colours contrasts with the swirl of the ferns.
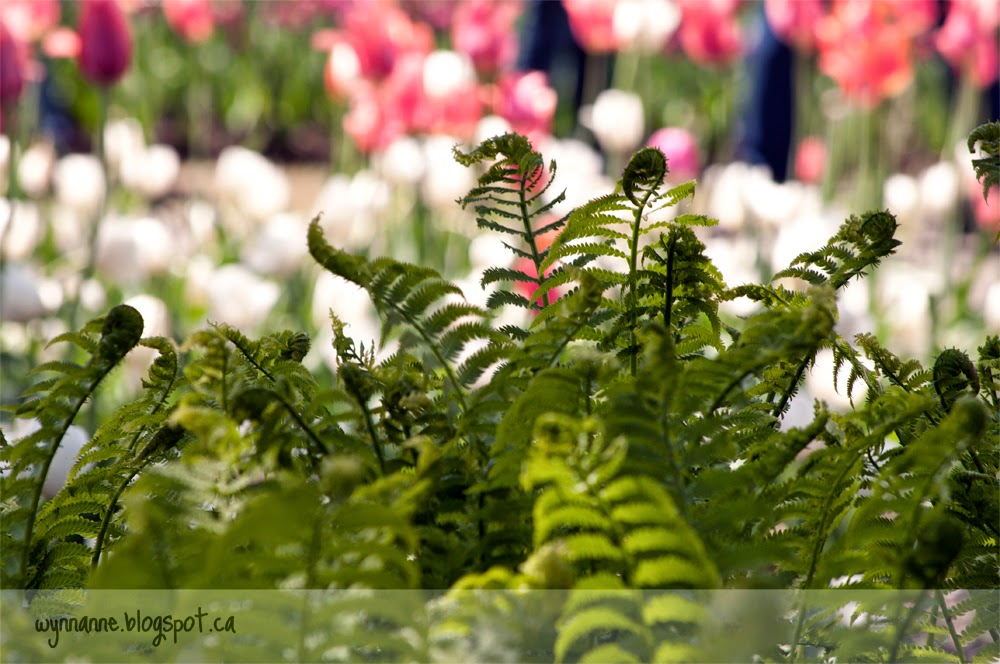 |
| 28. Shapes and Patterns |
Who says you have to focus?
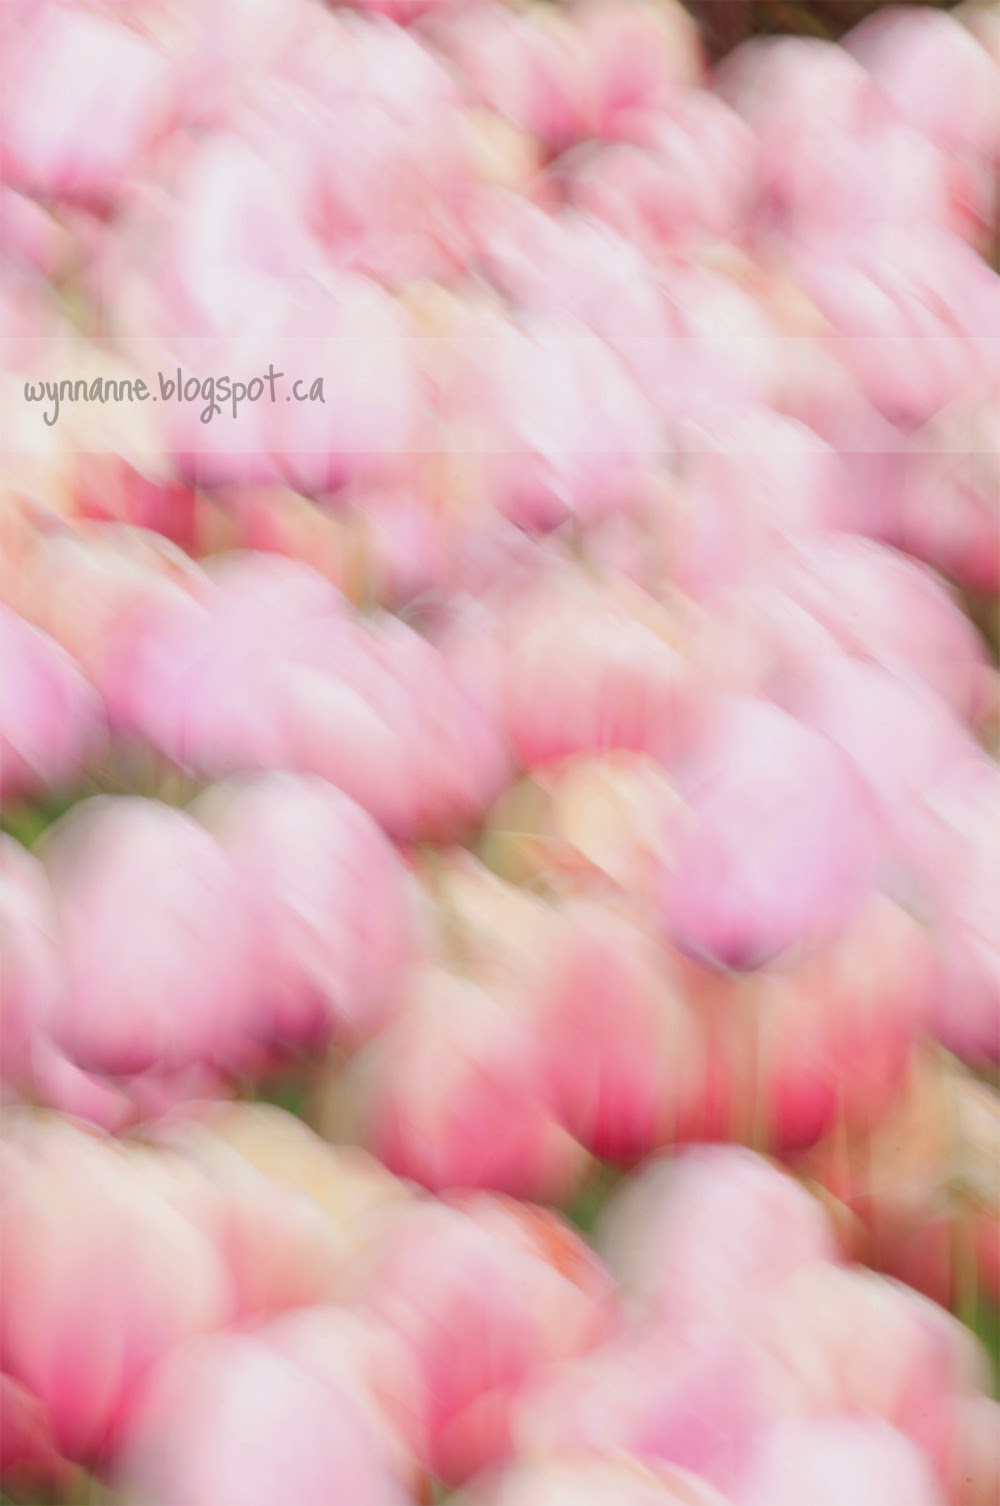
Intentionally blurring a photo is counter-intuitive for someone who really works hard to make her images sharp. I can't say that this is my favourite technique, but it does produce some interesting results. My challenge is to not over-blur the pictures. It's hard to find that sweet spot.
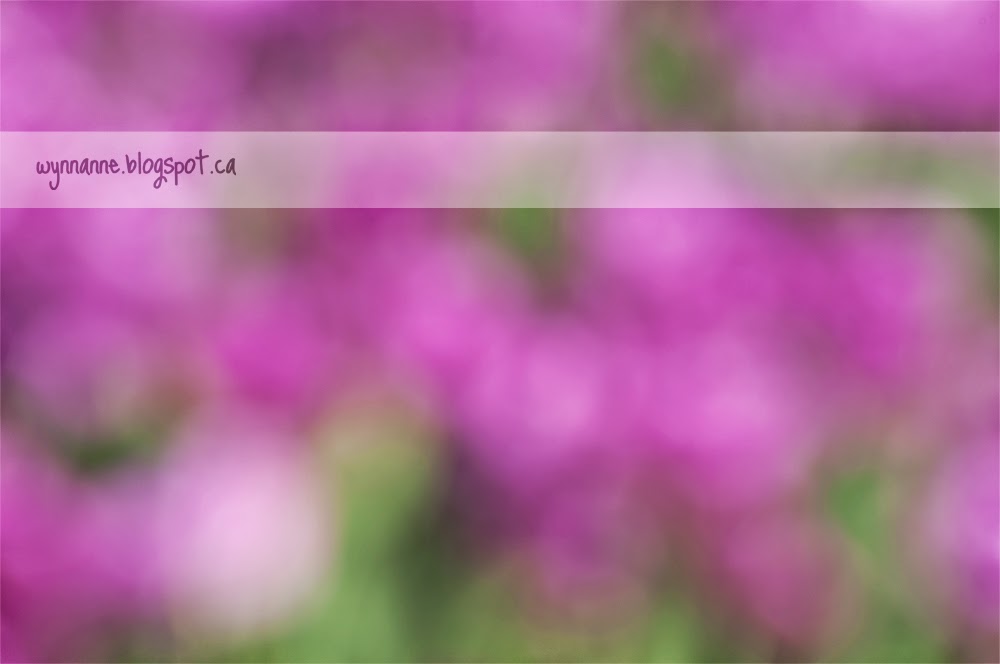 |
| 29. Who says you have to focus? | Just an abstract pattern of purple blobs that nevertheless indicate flowers. |
Flops
Of course, when you're experimenting, there will be unpleasant surprises, especially when you're switching the camera settings every few minutes. I deleted most of the flops, but this one was just so funny I have to share it.
 |
| 30. Flops | I didn't even try to edit this one. |
Happy Accidents
As always when you take out your camera, there will be surprises. I enjoyed seeing these when I finally loaded the pictures onto my laptop.
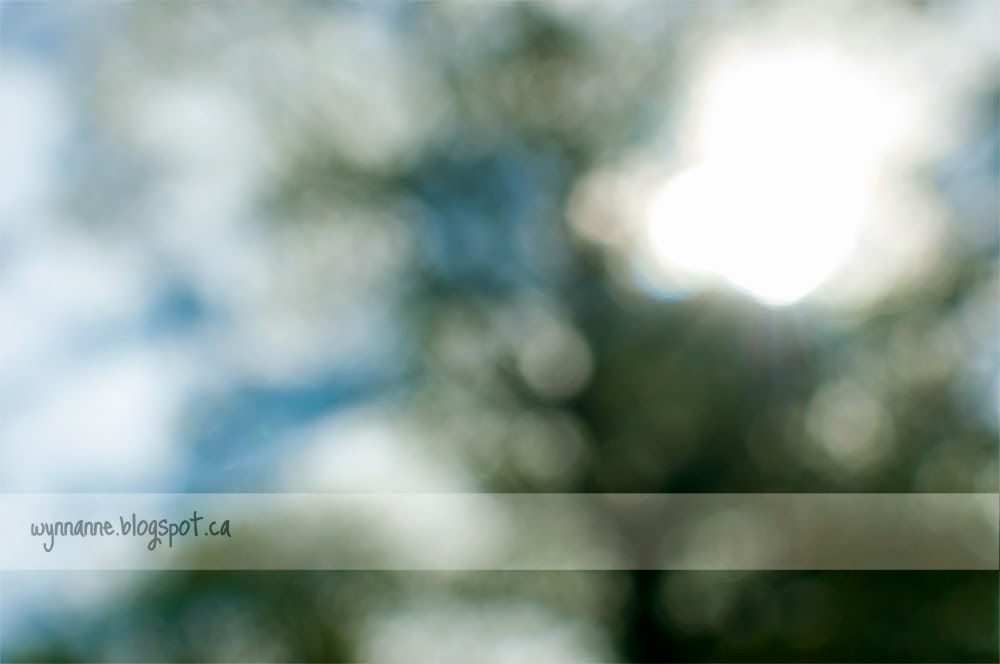 |
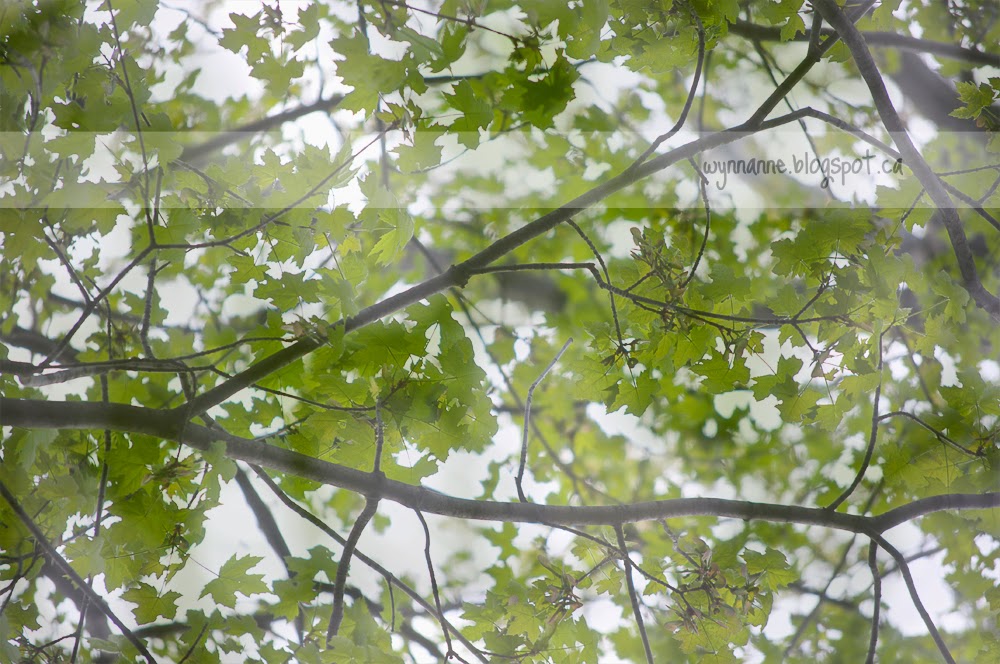
31. Happy Accidents | An intentionally blurred picture, looking up toward the sun makes a lovely abstract.
The disks of light are called "bokeh," and I love them.
I should also note that this was a result of intentionally blurring the focus. |
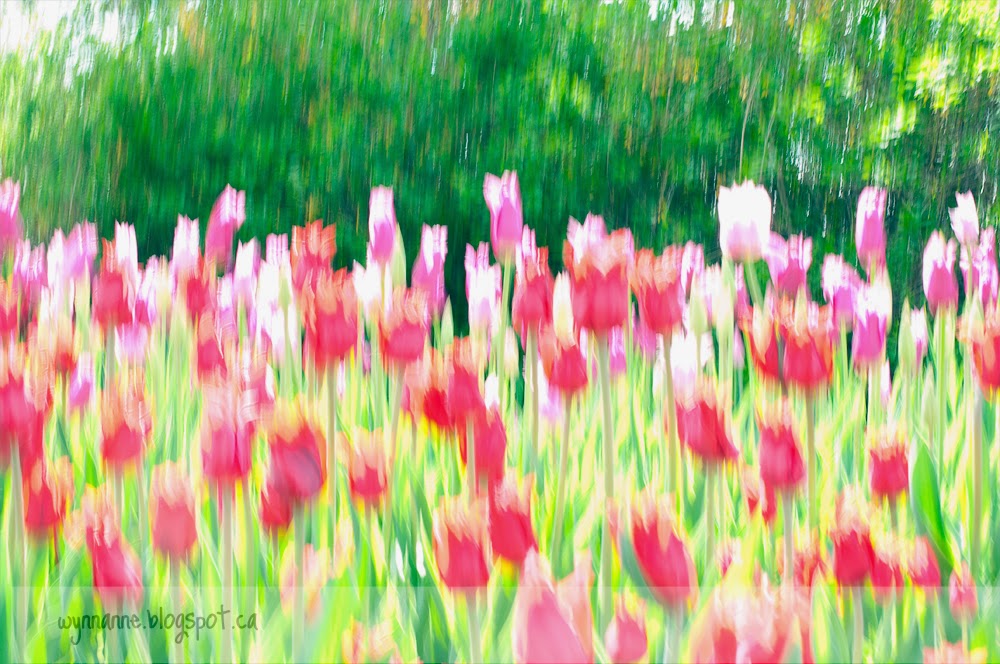 |
32. Happy Accidents | This picture was so overexposed -- or something! -- while panning the shot
that it became an impressionist painting straight out of the camera.
I could see this on fabric, perhaps an umbrella. |
 |
33. Happy Accidents | This one was wildly underexposed, but produce
an interesting, almost abstract, composition when I edited it in Photoshop. |
I need to stop now, or I will end up with 100 pictures in this post!
Our instructor has asked us to share our five (just five!) favourite pictures from the day. I am torn! Which ones are your favourites? Is there a technique here that you would like to try?
UPDATE: Here's a collage to help you identify your faves.


Gorgeous! Gorgeous! Gorgeous! What an eye you have! I'd love to see more.
ReplyDeleteIt's all so inspiring, I can see coming back to this post again and again. I think the cropping, panning, and different perspectives are the techniques I'd particularly like to try out.
Yay! I'm looking forward to watching you explore this art.
DeleteThey are all gorgeous, but I think iI most enjoyed 33, 28, 21, 15, 13, 12, 5, 2, and 1 with 33, 1, 12, 13, and 15 being my very favourites in terms of artistic composition, etc. Numbers 8 and 32 would make amazing stationary!
ReplyDeleteI was just talking to Daddy about making up a set of stationery!
DeleteAmazing pics! I love the softness of the overlays -- what a great feature.
ReplyDeleteAnd most of mine are happy accidents right now since I am still a newbie. But I have such fun trying different things and experimenting.
Thanks, Rory. Happy accidents are the best . . . if only we could remember what we did so we can repeat them, right?
DeleteI love the idea of making #32 stationary! It really does have an impressionist painting look to it.
ReplyDeleteMy absolute favorite is #33 (and the thumbnail does not do it justice. I actually got confused and had to look back to make sure it was the right one). Of course, I'm a pink girl, so you should have expected that. But I love the bright blue, I love the composition, and it really just draws me in. It took my breath away.
Other favorites include, 3, 4, 7, 12, 18, and 32. I tried to limit myself to 3 or 4, but apparently I couldn't. :P
(I also thought I had posted a comment already, but it must not have gone through on my phone)
Thanks, Diane. I had a hard time choosing, too. My challenge now is to keep trying these techniques even when the instructor isn't there. (I keep falling back on my standard portrait approach.)
DeleteWow. I love these. Seriously. I wish I could do that, but it seems like a lot of work.
ReplyDeleteSome of it is work (and therefore time), but some of the things, like changing the angle of your camera - looking up instead of forward - or zooming in to see parts of the whole, don't take any extra time or work.
Delete